harsh-arsculpture


This project is an android app intended to make sound from movement - each GPS coordinate in the general CMU region is mapped to a particular note, and as you move through space, say your walk from home to school, you make music.

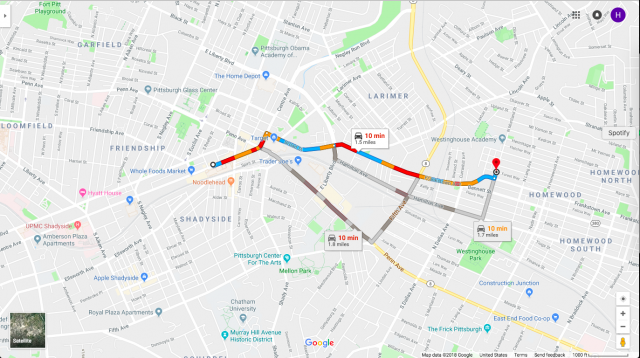
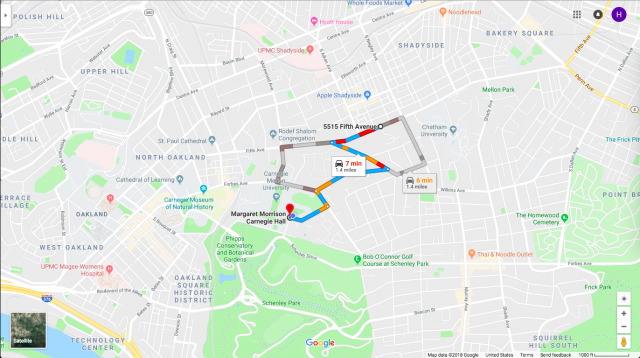
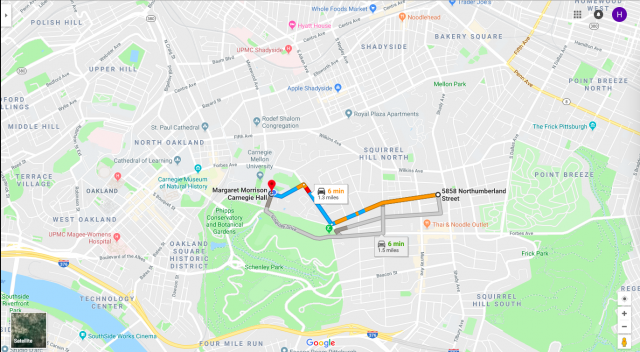
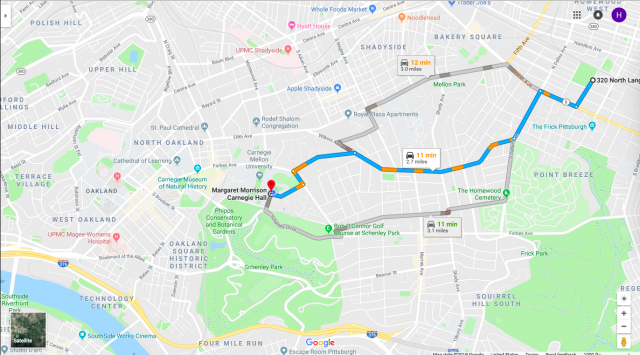
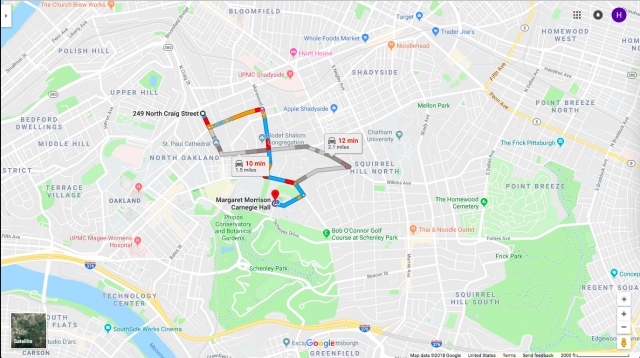
I asked some friends of mine to use the app while on their commute from home to school, and these are the results I got:


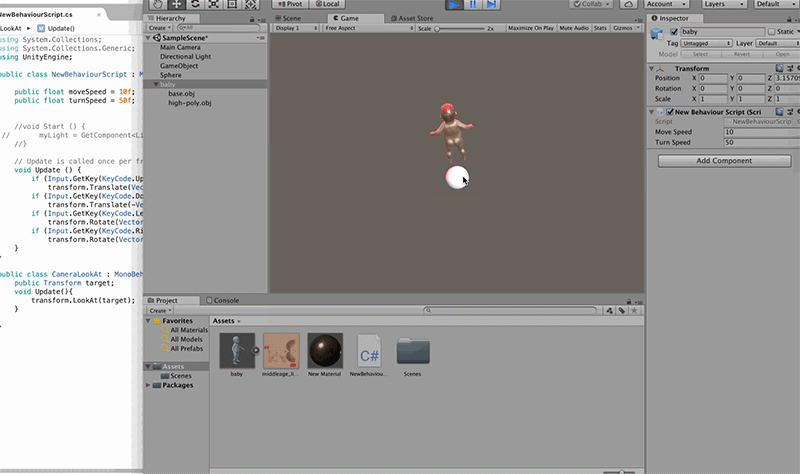
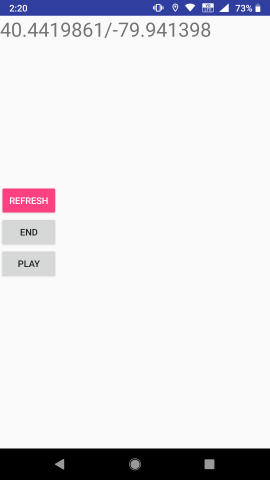
Here's a screenshot of the current app:


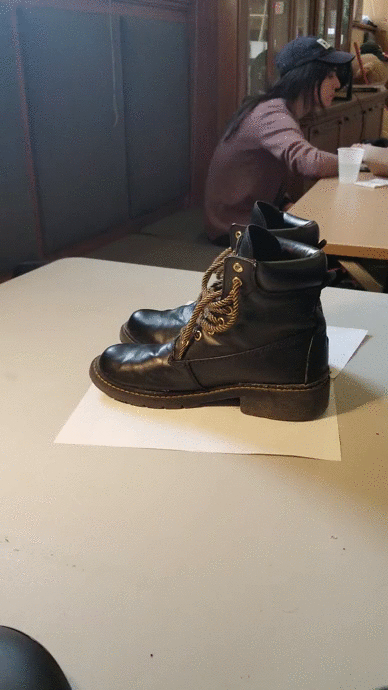
To be a little more projective, in another iteration I'd like to have the mapping of space and sound be a little more deliberate, instead of working at this large scale, it would be more interesting for example, to turn a street into a piano, where each step creates a note, and you need to hop between steps to make music. Here's a short video of what I imagine:

rigatoni-arsculpture

You ever feel like you really need to get some work done but the dang trackpad robots just won't give you no room?

Lately I've been feeling pretty burnt out from my workload so I decided to turn this AR project into a fun literal interpretation of my resistance towards doing any more work this semester.

The "site" is the laptop I use for schoolwork, on my desk which is also where I do my schoolwork. The "viewer" is me, a college student hopelessly behind on his deliverables, and the "object" is a bunch of happy-go-lucky robots freeloading my precious trackpad real-estate (good thing I brought a mouse!).

I modeled and rigged the robots in Blender, and applied different looping mocap animations I found on Turbosquid.

nerual-arproject

Shoe sweet shoe.

The video is made with XR Remote, but I had a lot of technical difficulties so I couldn't do everything I wanted to do with the project.I really wanted to let the viewer explore the shoe in 3D, walk around, get in close to see small details about the shoe. I also wanted you to be able to tap the screen and set the shoe on fire.

The point was to have the user engage with a kind of ordinary object, and make them do it in an unconventional space(close to the ground).

Linux stuff:
Build & Run Settings: Gradle build system.
Export to apk first, then run apk on phone.

Build.
Open terminal, navigate to where the .apk file is located.
adb install .apk
Or drag into phone directory and install from file manager on phone.

nerual-UnityEssentials

General:

If game window isn't working or Unity is crashing, edit Player Settings, Project Settings, and/or Edit>Graphics Emulation and select lowest/oldest shader model and shader hardware tier. May need to repeat upon reopening.

1. importing

2.navigating unity

QWERT hot keys for navigation tools. Hold right-click and use WASD to move. Alt or Alt-Shift + mouse buttons.

3.assets
4.materials
5.prefabs
6.level building

hold v to snap corner

7.animation

dope sheets vs curves

Starting from here, started from progress scene in exercise files because I couldn't import the character correctly(maybe because different unity version and linux editor?)

9.adding audio

Turn the audio volume WAY down.

10.lighting
11.baking lighting

Careful of real-time option during editing to. May put strain on unity editor.

12.particles and fx

Use for chimney smoke.

I didn't get around to the other tutorials. Since I did this late anyway, I focused on the ones immediately helpful to the part of the project I was about to work on.

rigatoni-UnityTutorial

Creating Believable Visuals (Intermediate)

I am glad I took the time to go through this series of tutorials, as it addressed a lot of mistakes I have been making when lighting, modelling, texturing and rendering my scenes in Unity. In general my takeaway is that less is more when it comes to rendering, and a low-poly well-textured model can look a lot smoother and polished than a high poly mess of bad topology.

Going forward I am going to use sharp edges and vertices sparingly, as most object in the real world are rarely sharp, cube-cut shapes. I had also been underestimating how useful reflection probes are in scene lighting, and I had been marking all static scene objects as lightmap static, when in fact this is really only noticeable on large objects.

I also got to learn all about the post processing stacks that unity provides, and how I can customize them at a deep level. I will be making use of this feature on every project henceforth, particularly dithering, ambient occlusion and the tonemapper.

Lastly, I did not realize it was possible to export multiple sets of UV maps, each for a different purpose. For instance, UV mappings for base albedo texturing should space out the faces to allow the most amount of detail to fit on them, while lightmap UVs should prioritize large faces to have the most area for the smoothest shading, and reflection UVs should evenly size faces to avoid weird clipping artefacts.

weirdie-UnityTutorial

Using instantiate to create new objects with the spacebar (the banana is falling the gif didn't capture that well lol)

Invoke some pineapples

Destroy the pear (spacebar)

go away, radish
(add force with mouse click)

Switch Statements:

look at the radish