Two Computers, OSC, and an Arduino
For this project, Golan gave me permission to work on communication between two computers which are remotely connected via the network (thanks Golan!). I wanted to do this as it is a critical component in making my final project work, which is in essence a telepresent robot student (more details to come!) . Here is a video of it working:
Primarily using Processing and Arduino, I used the oscP5 library by Andreas Schlegel for the communication between the computers, and just plain Serial to control the Arduino. Overall, the communication pipeline looks like this:
Computer 1 -> Computer 2 -> Arduino
Lag appeared to be minimal, and the OSC interface was very fast and worked well for my needs.
Here is the Processing Code that uses OSC to communicate between two computers:(adapted from an excellent tutorial here: http://learning.codasign.com/index.php?title=Sending_and_Receiving_OSC_Data_Using_Processing)
/* --- PRE SETUP --- */
//pre setup network:
import java.net.InetAddress;

InetAddress inet;

String myIP;

//pre setup OSC:
import oscP5.*;
import netP5.*;

OscP5 oscP5;
NetAddress myRemoteLocation;

//pre setup Arduino:
import processing.serial.*;
Serial port;

/* ----- SETUP ----- */
void setup() {
  size(400,400);

  /* --- PREPARE NETWORK: --- */
  //get this computer's ip:
  try {
    inet = InetAddress.getLocalHost();
    myIP = inet.getHostAddress();
  }
  catch (Exception e) {
    e.printStackTrace();
    myIP = "couldnt get IP";
  }
  println(myIP);

  /* --- PREPARE OSC: --- */
  //this computer's port
  oscP5 = new OscP5(this,5001);

  //sender ip and port (replace with real IP:)
  myRemoteLocation = new NetAddress("127.0.0.1",6002);

  /* --- PREPARE ARDUINO: --- */
  println("Available serial ports:");
  println(Serial.list());
  port = new Serial(this, Serial.list()[5], 9600);

}

/* --- MAIN LOOP --- */
void draw() { }

void mousePressed() {
  // create an osc message
  OscMessage myMessage = new OscMessage("/test");

  myMessage.add(123); // add an int to the osc message
  myMessage.add(12.34); // add a float to the osc message
  myMessage.add("hello other computer!"); // add a string to the osc message

  // send the message
  oscP5.send(myMessage, myRemoteLocation);
}


void oscEvent(OscMessage theOscMessage)
{
  // get the first value as an integer
  int firstValue = theOscMessage.get(0).intValue();

  // get the second value as a float
  float secondValue = theOscMessage.get(1).floatValue();

  // get the third value as a string
  String thirdValue = theOscMessage.get(2).stringValue();

  // print out the message
  print("OSC Message Recieved: ");
  print(theOscMessage.addrPattern() + " ");
  println(firstValue + " " + secondValue + " " + thirdValue);

  //send message to Arduino:
  port.write('a');
}
Arduino code was very simple: it just checks for input and turns led on and off. (Adapted from Dimmer example:)
/* --- PRE SETUP --- */
int ledPin = 13;
boolean on = false;

/* ----- SETUP ----- */
void setup() {
  // initialize the serial communication:
  Serial.begin(9600);
  // initialize the ledPin as an output:
  pinMode(ledPin, OUTPUT);
}

/* --- MAIN LOOP --- */
void loop() {
  byte brightness;

  // check if data has been sent from the computer:
  if (Serial.available()) {
    // read the most recent byte (which will be from 0 to 255):
    brightness = Serial.read();
    // set the brightness of the LED:
    if(on == true) {
      digitalWrite(ledPin, HIGH);
      on = false;
    } else {
      digitalWrite(ledPin, LOW);
      on = true;
    }
  }

}
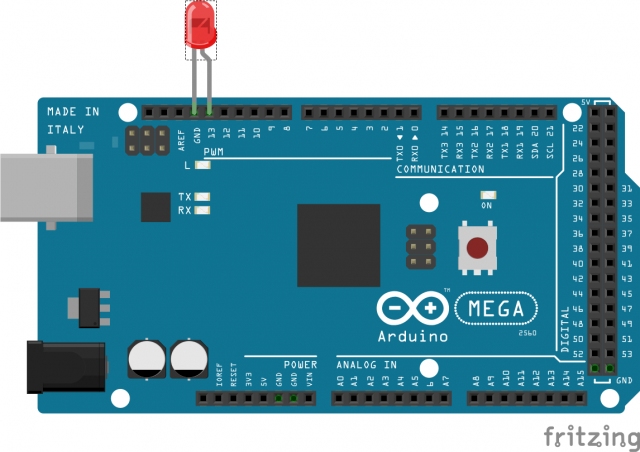
The Arduino was just for testing. As such, there is just a single LED:
